
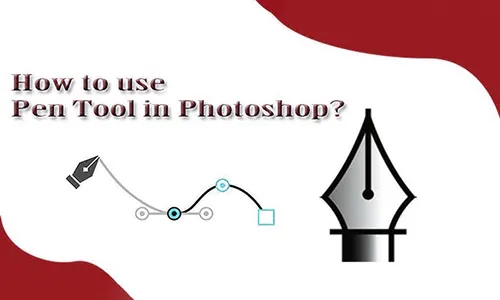
Accessing the Pen Tool
To start using the Pen Tool in Photoshop:
-
Open Photoshop and create a new document or open an existing one.
-
Select the Pen Tool from the Toolbar on the left side, or press the shortcut key P.
-
Choose from different Pen Tool options in the top menu: Pen Tool, Freeform Pen Tool, Curvature Pen Tool, and Magnetic Pen Tool.
Understanding the Pen Tool Basics
The Pen Tool works by creating anchor points and paths. Here’s how it functions:
1. Creating Straight Paths
-
Click once on the canvas to create an anchor point.
-
Click again at another location to create a straight line.
-
Continue clicking to add more anchor points and form a path.
-
Press Enter to complete the path.
2. Creating Curved Paths
-
Click to place an anchor point, then click and drag to create direction handles for a curve.
-
Click again to place another point and adjust the curve by dragging.
-
Continue adding points to create complex curved shapes.
3. Closing a Path
-
To complete a shape, click back on the first anchor point.
-
A small circle will appear next to the cursor, indicating a closed path.
Editing Paths with the Pen Tool
-
Use the Direct Selection Tool (A) to move anchor points.
-
Adjust curve handles by clicking and dragging them.
-
To delete an anchor point, use the Delete Anchor Point Tool.
-
Add new anchor points using the Add Anchor Point Tool.
Using the Pen Tool for Selections
-
Once a path is created, right-click and choose Make Selection.
-
Adjust feathering settings for smooth edges and click OK.
-
The selected area can now be edited, copied, or masked.
Pro Tips for Mastering the Pen Tool
Use fewer anchor points for smoother curves.
Press and hold Alt (Option on Mac) to adjust direction handles independently.
Toggle between the Pen Tool and Direct Selection Tool (A) for precision.
Use the Shift key to create perfectly straight lines at 45° increments.
Conclusion
Mastering the Pen Tool in Photoshop takes practice, but once you get the hang of it, you’ll be able to create stunning vector paths, selections, and intricate designs with ease. Start experimenting with different shapes and paths to become comfortable with this essential tool.
Do you have any questions or need further guidance? Let us know in the comments below!
The Pen Tool in Photoshop offers several benefits, especially for creating precise selections and vector paths. Here are some key advantages:
1. Precision & Control
Allows for accurate and smooth selections, perfect for detailed cutouts.
Helps create clean, sharp edges compared to the Lasso or Magic Wand tools.
2. Non-Destructive Editing
Paths can be modified without affecting the original image.
You can save and edit paths anytime using the Paths Panel.
3. Versatile Applications
Ideal for clipping paths, removing backgrounds, and creating vector shapes.
Used in graphic design, logo creation, and digital illustrations.
4. Smooth Curves & Straight Lines
Enables perfect curves and straight edges with anchor points and direction handles.
Unlike freehand drawing, it ensures uniformity and precision.
5. Converts Paths to Selections & Shapes
You can easily turn a path into a selection for masking, cutting, or filling.
Convert paths into vector shapes for scalable graphics without pixelation.
6. Works Well with Other Tools
Combine with the Brush Tool to create custom strokes.
Works seamlessly with Layer Masks for non-destructive edits.
7. Essential for Professional Work
Used in photo retouching, web design, and UI/UX design.
A must-have skill for graphic designers and photographers.


Hi, this is a comment.
To get started with moderating, editing, and deleting comments, please visit the Comments screen in the dashboard.
Commenter avatars come from Gravatar.